In this guide we will see how to change the FTP connection settings.
The first thing to do is to go to your customer interface which you can find the link to on our showcase site. Once there, click on Plesk > My Plesk (Manage my subscription) > menu Websites & Domains > FTP access.
The next page will show you, if any, all the FTP accounts associated with your subscription. By default, you will see only one account. This is the system FTP account that is created when the hosting is created. It cannot be deleted, but you can rename it or change the password associated with it. Click on the FTP account name to change it.
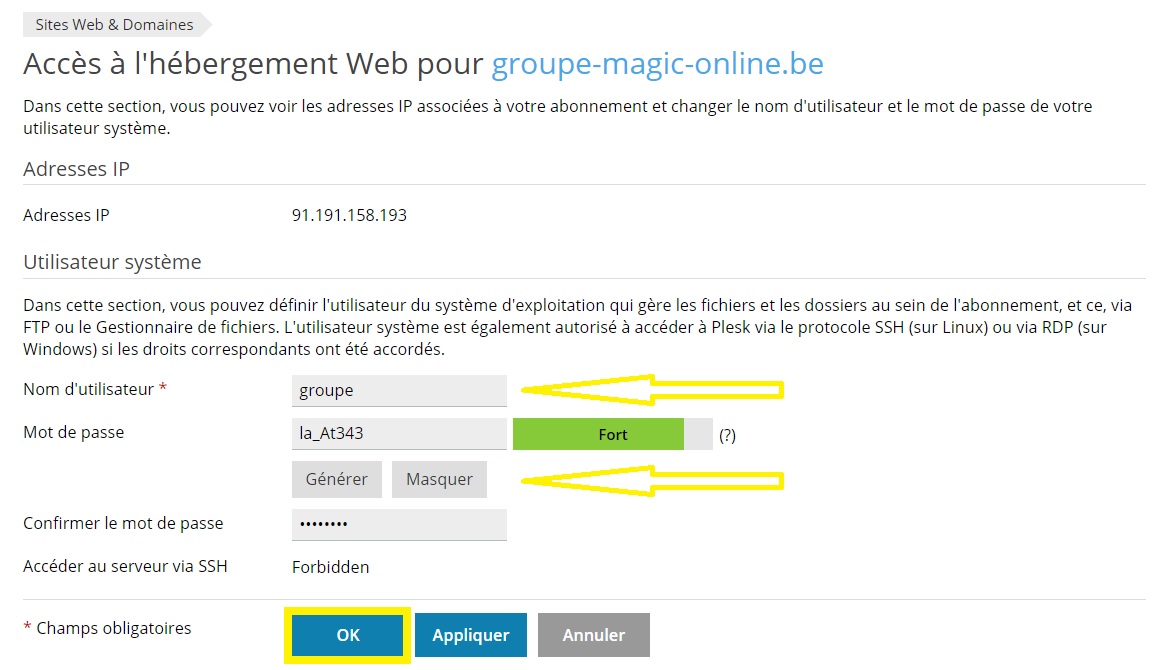
Rename the FTP user name if you want. Then enter the new password twice.
You can let Plesk take care of setting a strong security level password for you. Just click on the button Generateand then the button View to copy the password and save it at your level in a text document. Then click more than once on Generate if you don't like the password to change it, and finally, validate.
It is not recommended to :
- Put special characters in the FTP account name.
- Put empty spaces in the FTP account name
- Choose a password that is easy to guess.
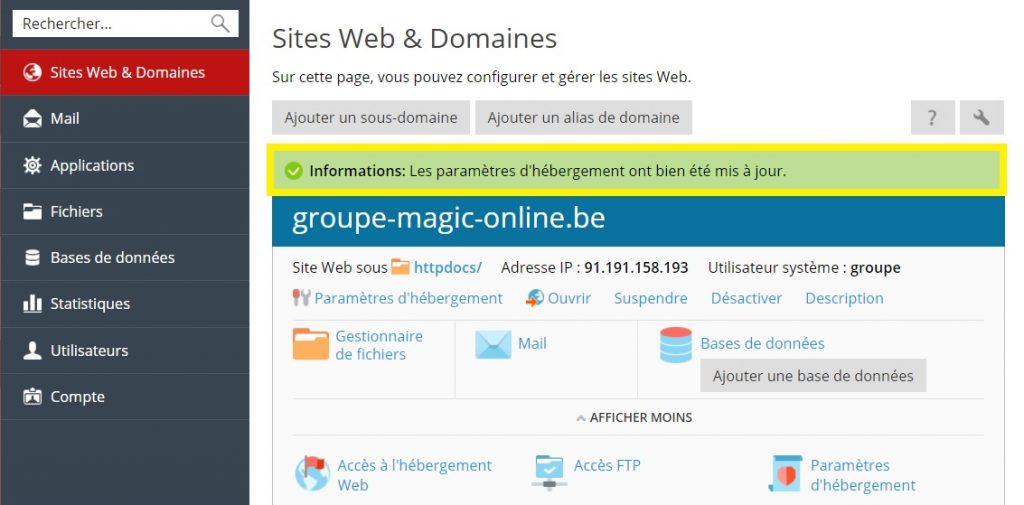
Then click on OK to take over the modification made.
To access FTP through your application and publish your site, use the connection settings as follows:
- Host / FTP address: WWW.VOTREDOMAINE.TLD (or the IP address of the server that you will find on the plesk space as 91.191.158.XXX)
- User ID: The FTP username
- Password: The FTP password
- Port : 21
- Publishing directory: httpdocs
Very important: Follow our help link to FTP access via FileZilla or add additional FTP accounts.


